Subject
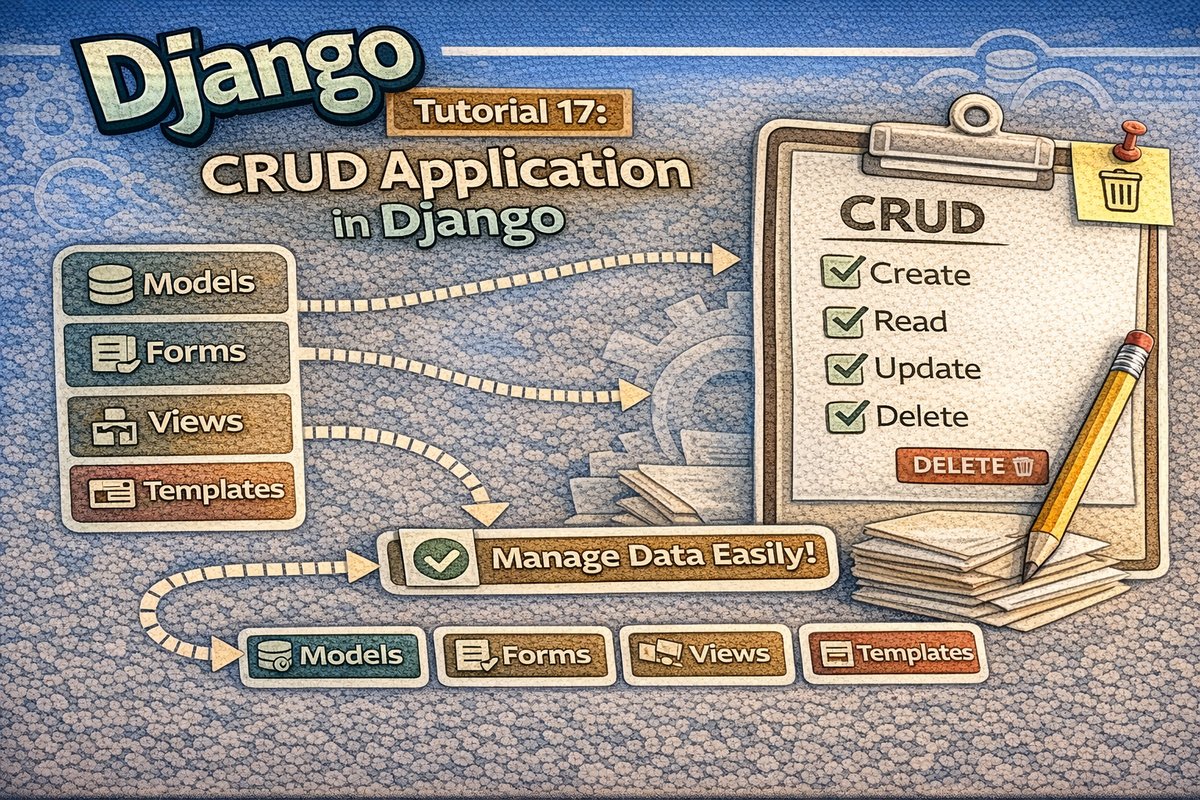
Build a complete CRUD application in Django by combining models, views, URLs, templates, and ModelForms.
At this stage, you already know the most important Django building blocks: models, views, templates, URLs, forms, and ModelForms. Now it is time to combine them into one of the most useful patterns in web development: CRUD.
CRUD stands for:
- Create
- Read
- Update
- Delete
These four operations are the foundation of many real applications such as blogs, task managers, student systems, product catalogs, and admin dashboards.
In this tutorial, you will build a complete CRUD application in Django from scratch and understand how all its parts work together.
1. What Is a CRUD Application?
A CRUD application is an application that allows users to:
- create new data
- read existing data
- update existing data
- delete existing data
Example: Blog posts
For a blog application:
- Create → add a new post
- Read → display posts
- Update → edit an existing post
- Delete → remove a post
This pattern is extremely common in Django projects.
2. What You Will Build
In this tutorial, you will build a simple Post Manager application.
It will include:
- a page that lists all posts
- a page to view one post
- a page to create a new post
- a page to update an existing post
- a page to confirm deletion
This is a complete beginner CRUD project.
3. Final CRUD Features
By the end, your application will support:
- Create posts
- Read all posts
- Read one post in detail
- Update posts
- Delete posts safely with confirmation
4. Project Setup
We will assume your project is already created and your app is named blog.
Example structure:
config/
blog/
manage.py
If needed, create the app with:
python manage.py startapp blogAnd register it in settings.py:
INSTALLED_APPS = [
    ...
    'blog',
]
5. Step 1: Create the Model
Open blog/models.py.
blog/models.py
from django.db import models

class Post(models.Model):
    title = models.CharField(max_length=200)
    content = models.TextField()
    author = models.CharField(max_length=100)
    created_at = models.DateTimeField(auto_now_add=True)
    is_published = models.BooleanField(default=True)

    def __str__(self):
        return self.title
Explanation
titlestores the post titlecontentstores the post textauthorstores the author namecreated_atstores creation date automaticallyis_publishedallows publication status
6. Step 2: Run Migrations
After creating the model, run:
python manage.py makemigrations
python manage.py migrate
This creates the database table.
7. Step 3: Create the ModelForm
Open blog/forms.py.
blog/forms.py
from django import forms
from .models import Post

class PostForm(forms.ModelForm):
    class Meta:
        model = Post
        fields = ['title', 'content', 'author', 'is_published']
        widgets = {
            'title': forms.TextInput(attrs={
                'class': 'form-control',
                'placeholder': 'Enter post title'
            }),
            'content': forms.Textarea(attrs={
                'class': 'form-control',
                'placeholder': 'Write your post content',
                'rows': 6
            }),
            'author': forms.TextInput(attrs={
                'class': 'form-control',
                'placeholder': 'Enter author name'
            }),
        }
Why use ModelForm?
Because it automatically creates the form based on the model and makes CRUD development easier.
8. Step 4: Create the Views
Now build all CRUD views inside blog/views.py.
blog/views.py
from django.shortcuts import render, get_object_or_404, redirect
from .models import Post
from .forms import PostForm
A. Read All Posts
def post_list(request):
    posts = Post.objects.all().order_by('-created_at')
    return render(request, 'blog/post_list.html', {'posts': posts})
This view retrieves all posts and sends them to the list template.
B. Read One Post
def post_detail(request, post_id):
    post = get_object_or_404(Post, id=post_id)
    return render(request, 'blog/post_detail.html', {'post': post})
This view displays one specific post.
C. Create a New Post
def post_create(request):
    if request.method == 'POST':
        form = PostForm(request.POST)
        if form.is_valid():
            form.save()
            return redirect('blog:post_list')
    else:
        form = PostForm()

    return render(request, 'blog/post_form.html', {'form': form})
This view:
- shows an empty form on GET
- processes submitted data on POST
- saves the post if valid
D. Update an Existing Post
def post_update(request, post_id):
    post = get_object_or_404(Post, id=post_id)

    if request.method == 'POST':
        form = PostForm(request.POST, instance=post)
        if form.is_valid():
            form.save()
            return redirect('blog:post_detail', post_id=post.id)
    else:
        form = PostForm(instance=post)

    return render(request, 'blog/post_form.html', {'form': form})
This view uses instance=post so Django edits the existing object instead of creating a new one.
E. Delete a Post
def post_delete(request, post_id):
    post = get_object_or_404(Post, id=post_id)

    if request.method == 'POST':
        post.delete()
        return redirect('blog:post_list')

    return render(request, 'blog/post_confirm_delete.html', {'post': post})
This view:
- shows a confirmation page first
- deletes only after POST confirmation
9. Full views.py
blog/views.py
from django.shortcuts import render, get_object_or_404, redirect
from .models import Post
from .forms import PostForm

def post_list(request):
    posts = Post.objects.all().order_by('-created_at')
    return render(request, 'blog/post_list.html', {'posts': posts})

def post_detail(request, post_id):
    post = get_object_or_404(Post, id=post_id)
    return render(request, 'blog/post_detail.html', {'post': post})

def post_create(request):
    if request.method == 'POST':
        form = PostForm(request.POST)
        if form.is_valid():
            form.save()
            return redirect('blog:post_list')
    else:
        form = PostForm()

    return render(request, 'blog/post_form.html', {'form': form})

def post_update(request, post_id):
    post = get_object_or_404(Post, id=post_id)

    if request.method == 'POST':
        form = PostForm(request.POST, instance=post)
        if form.is_valid():
            form.save()
            return redirect('blog:post_detail', post_id=post.id)
    else:
        form = PostForm(instance=post)

    return render(request, 'blog/post_form.html', {'form': form})

def post_delete(request, post_id):
    post = get_object_or_404(Post, id=post_id)

    if request.method == 'POST':
        post.delete()
        return redirect('blog:post_list')

    return render(request, 'blog/post_confirm_delete.html', {'post': post})
10. Step 5: Create the URLs
Open blog/urls.py.
blog/urls.py
from django.urls import path
from . import views

app_name = 'blog'

urlpatterns = [
    path('', views.post_list, name='post_list'),
    path('post/<int:post_id>/', views.post_detail, name='post_detail'),
    path('create/', views.post_create, name='post_create'),
    path('update/<int:post_id>/', views.post_update, name='post_update'),
    path('delete/<int:post_id>/', views.post_delete, name='post_delete'),
]
Now connect the app URLs in config/urls.py.
config/urls.py
from django.contrib import admin
from django.urls import path, include

urlpatterns = [
    path('admin/', admin.site.urls),
    path('', include('blog.urls')),
]
11. Step 6: Create the Templates
Create this folder structure:
blog/
└── templates/
    └── blog/
        ├── base.html
        ├── post_list.html
        ├── post_detail.html
        ├── post_form.html
        └── post_confirm_delete.html
12. Base Template
blog/templates/blog/base.html
<!DOCTYPE html>
<html>
<head>
    <title>Django CRUD App</title>
</head>
<body>
    <h1><a href="{% url 'blog:post_list' %}">Django CRUD App</a></h1>
    <hr>

    {% block content %}
    {% endblock %}
</body>
</html>
This template is shared by all pages.
13. List Template
blog/templates/blog/post_list.html
{% extends 'blog/base.html' %}

{% block content %}
<h2>All Posts</h2>

<p>
    <a href="{% url 'blog:post_create' %}">➕ Create New Post</a>
</p>

{% if posts %}
    <ul>
        {% for post in posts %}
            <li>
                <a href="{% url 'blog:post_detail' post.id %}">
                    {{ post.title }}
                </a>
                by {{ post.author }}
            </li>
        {% endfor %}
    </ul>
{% else %}
    <p>No posts available.</p>
{% endif %}
{% endblock %}
This page displays all posts.
14. Detail Template
blog/templates/blog/post_detail.html
{% extends 'blog/base.html' %}

{% block content %}
<h2>{{ post.title }}</h2>

<p><strong>Author:</strong> {{ post.author }}</p>
<p><strong>Created:</strong> {{ post.created_at }}</p>
<p><strong>Published:</strong> {{ post.is_published }}</p>

<p>{{ post.content }}</p>

<p>
    <a href="{% url 'blog:post_update' post.id %}">✏️ Edit</a>
    |
    <a href="{% url 'blog:post_delete' post.id %}">🗑️ Delete</a>
</p>

<p>
    <a href="{% url 'blog:post_list' %}">← Back to all posts</a>
</p>
{% endblock %}
This page displays one post in detail.
15. Form Template
blog/templates/blog/post_form.html
{% extends 'blog/base.html' %}

{% block content %}
<h2>Post Form</h2>

<form method="POST">
    {% csrf_token %}
    {{ form.as_p }}
    <button type="submit">Save</button>
</form>

<p>
    <a href="{% url 'blog:post_list' %}">← Back to all posts</a>
</p>
{% endblock %}
This template is reused for both create and update.
16. Delete Confirmation Template
blog/templates/blog/post_confirm_delete.html
{% extends 'blog/base.html' %}

{% block content %}
<h2>Delete Post</h2>

<p>Are you sure you want to delete "{{ post.title }}"?</p>

<form method="POST">
    {% csrf_token %}
    <button type="submit">Yes, Delete</button>
</form>

<p>
    <a href="{% url 'blog:post_detail' post.id %}">Cancel</a>
</p>
{% endblock %}
This prevents accidental deletion.
17. Step 7: Register the Model in Admin
Open blog/admin.py.
blog/admin.py
from django.contrib import admin
from .models import Post

admin.site.register(Post)
Now you can also manage posts through the Django admin interface.
18. How the CRUD Flow Works
Let us summarize the flow:
Create
- user visits
/create/ - fills the form
- submits data
- Django validates and saves
Read
- user visits
/ - sees all posts
- clicks one post
- sees the detail page
Update
- user visits
/update/1/ - sees pre-filled form
- edits data
- submits changes
Delete
- user visits
/delete/1/ - sees confirmation page
- confirms deletion
- record is removed
19. Why Reusing the Same Form Template Is Useful
Notice that both create and update views use:
return render(request, 'blog/post_form.html', {'form': form})
This is a very common and smart Django practice.
Benefits
- less repeated code
- easier maintenance
- same design for both actions
- cleaner project structure
20. Improving the Form Page Title
You can make the form template more dynamic.
Update view
def post_create(request):
    if request.method == 'POST':
        form = PostForm(request.POST)
        if form.is_valid():
            form.save()
            return redirect('blog:post_list')
    else:
        form = PostForm()

    return render(request, 'blog/post_form.html', {
        'form': form,
        'page_title': 'Create Post'
    })
Update template
{% extends 'blog/base.html' %}

{% block content %}
<h2>{{ page_title }}</h2>

<form method="POST">
    {% csrf_token %}
    {{ form.as_p }}
    <button type="submit">Save</button>
</form>
{% endblock %}
Do the same for update:
'page_title': 'Update Post'This makes the interface clearer.
21. Common Beginner Mistakes
Mistake 1: Forgetting instance in update view
Without it, Django creates a new post instead of editing the old one.
Mistake 2: Forgetting {% csrf_token %}
POST forms need CSRF protection.
Mistake 3: Using GET for delete
Deletion should be confirmed with POST, not GET.
Mistake 4: Forgetting redirect()
After create/update/delete, redirecting helps avoid repeated submissions.
Mistake 5: Forgetting URL names
Using named URLs makes templates cleaner and safer.
22. Best Practices
- use
get_object_or_404()for detail, update, and delete - use
ModelFormfor model-based forms - use a confirmation page before deletion
- reuse templates when possible
- keep CRUD views simple and readable
- organize templates clearly
23. Beginner Analogy
Think of a CRUD application like managing books in a library system.
- Create → add a new book
- Read → view all books or one book
- Update → change book information
- Delete → remove a book
That is exactly what CRUD does for any type of data.
24. Summary
In this tutorial, you built a complete CRUD application in Django using a model, ModelForm, views, URLs, and templates. You created pages to list, display, add, update, and delete posts. This is one of the most important milestones in Django because it shows how all the main concepts work together in a real application.
25. Key Takeaways
- CRUD means Create, Read, Update, Delete
- Django CRUD applications combine models, views, URLs, templates, and forms
ModelFormmakes create and update easierinstanceis required for editing existing recordsget_object_or_404()is useful for safe retrieval- delete actions should use a confirmation page
26. Small Knowledge Check
- What does CRUD stand for?
- Which view is responsible for showing all posts?
- Why do we use
instance=postin the update form? - Why is
get_object_or_404()useful? - Why should delete actions use POST instead of GET?
- Why is it useful to reuse
post_form.htmlfor both create and update?
27. Conclusion
A CRUD application is one of the best ways to practice Django because it forces you to combine everything you have learned so far. Once you can build CRUD applications confidently, you are ready for more realistic features like authentication, messages, file uploads, search, and pagination.













💬 Comments
No comments yet. Be the first to comment!
Login to comment.