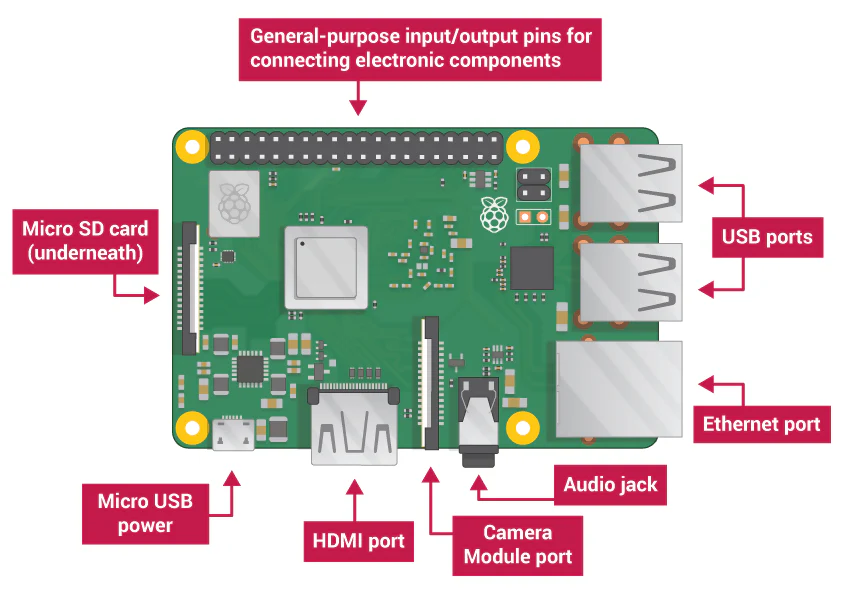
🔵 Step 1 — Choose Your Raspberry Pi Model
Most beginners start with:
✔ Raspberry Pi 4 (4GB or 8GB)
or
✔ Raspberry Pi 5 (recommended if budget allows)
Also needed:
- Micro-SD card (16–32 GB minimum, Class 10)
- Power supply (official one recommended)
- HDMI cable (micro-HDMI for Pi 4, mini-HDMI for Pi Zero)
- Keyboard + mouse
- Monitor or TV
- Internet (Wi-Fi or Ethernet)
Optional:
- Raspberry Pi case
- Fan or heatsink
- USB stick
- Breadboard + sensors (for electronics projects)
🔵 Step 2 — Download & Install the Operating System
The Raspberry Pi needs an OS installed on the micro-SD card.
✔ Install Raspberry Pi OS using Raspberry Pi Imager
- Download Raspberry Pi Imager
👉 https://www.raspberrypi.com/software - Insert your micro-SD card into your computer
- Open Raspberry Pi Imager
- Choose:
- OS → Raspberry Pi OS (32-bit)
- Storage → your micro-SD card
- Click Write
- Wait until it finishes (2–5 minutes)
📝 This prepares your Pi to boot for the first time.

🔵 Step 3 — Insert the SD Card & Connect Everything
Insert the micro-SD card into the Pi.
Then connect:
- Monitor → HDMI
- Keyboard + Mouse → USB
- Internet → Wi-Fi or Ethernet
- Power cable (last step)
When you plug the power cable, the Raspberry Pi will start automatically.
🔵 Step 4 — First Boot Setup
On the first boot, you will see a configuration wizard.
You will choose:
- Language & country
- Create a username + password
- Connect Wi-Fi
- Update the system (recommended)
After this, you will arrive on the desktop.
🔵 Step 5 — Explore the Raspberry Pi Desktop

You will find:
- Web browser
- Programming tools (Python, Scratch)
- File manager
- Terminal
- Settings
It’s very similar to Windows or Linux.
🔵 Step 6 — Learn Basic Commands (Very Useful)
Open the Terminal and try:
ls          # list files
cd folder   # enter a folder
sudo apt update
sudo apt upgrade
These keep your system updated.
🔵 Step 7 — Start Your First Python Program
Open Thonny (Python IDE included).
Try this simple program:
print("Hello Raspberry Pi!")
Click Run → You just wrote your first Raspberry Pi program!
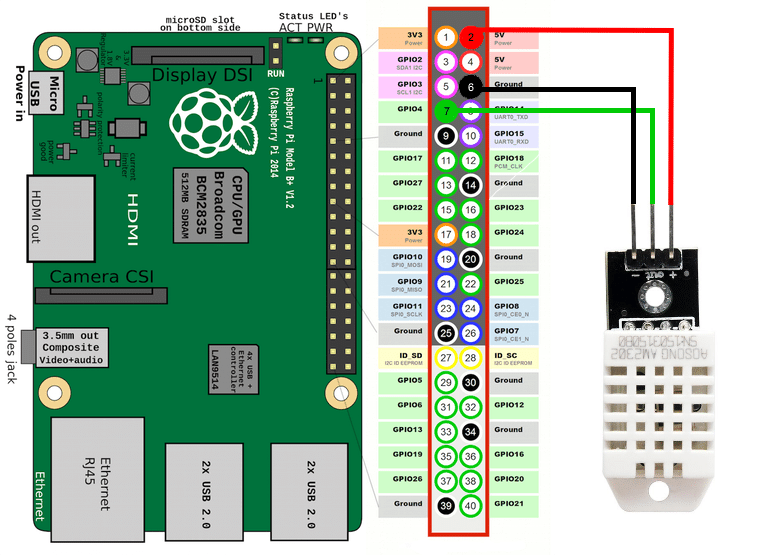
🔵 Step 8 — Use the GPIO Pins (Electronics Beginners)
To control LEDs/sensors, you need:
- Breadboard
- Jumper wires
- LED
- Resistor (220 Ω)
Example: blink an LED.
- Connect LED to GPIO pin 17
- Write this Python program:
import RPi.GPIO as GPIO
import time

GPIO.setmode(GPIO.BCM)
GPIO.setup(17, GPIO.OUT)

while True:
    GPIO.output(17, True)
    time.sleep(1)
    GPIO.output(17, False)
    time.sleep(1)
This makes the LED blink every second.
🔵 Step 9 — Enable SSH (Remote Access from Your Computer)
If you want to control the Pi from your laptop:
- Open Preferences → Raspberry Pi Configuration
- Enable SSH
Find your Pi’s IP address with:
hostname -IOn your computer:
ssh pi@IP_ADDRESS
Now you can control the Pi without a monitor.
🔵 Step 10 — Try Your First Project
Here are great beginner projects:
- ✔ Create a retro gaming console (RetroPie)
- ✔ Build a personal web server
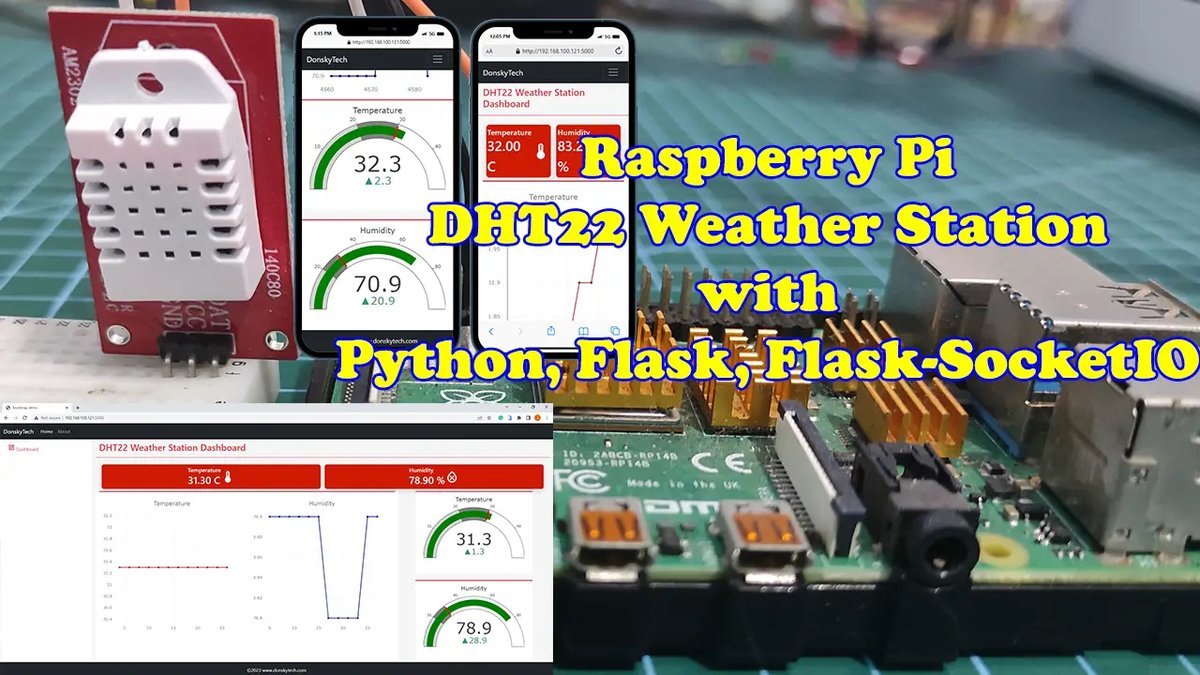
- ✔ Make a temperature sensor
- ✔ Control an LED with Python
- ✔ Setup a home automation system
- ✔ Turn the Pi into a media center (Kodi)
- ✔ Create a security camera with motion detection
Ask me and I can give you full tutorials for any project.
🎉 You Are Ready!
You now know how to:
✔ Install Raspberry Pi OS
✔ Configure your Pi
✔ Run programs
✔ Use GPIO pins
✔ Start real projects











💬 Comments
No comments yet. Be the first to comment!
Login to comment.