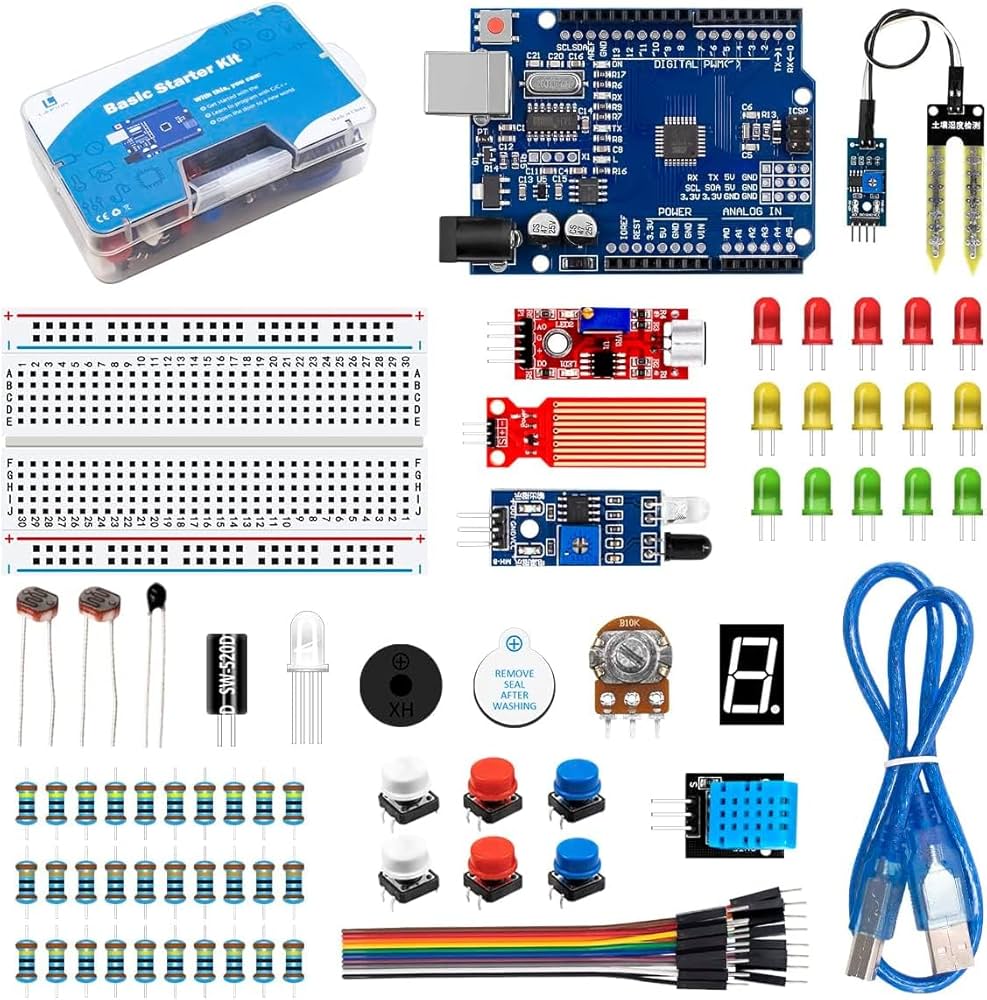
📌 1. What Is Arduino?
Arduino is an open-source electronics platform used to build:
- Robots
- Smart home systems
- IoT devices
- Sensors
- Automation tools
- Learning electronic circuits
It consists of:
- A microcontroller board (like Arduino Uno)
- A programming software (Arduino IDE)
- A wide ecosystem of sensors, modules, motors, LEDs, etc.
📌 2. What You Need to Start
Mandatory:
- Arduino Uno board
- USB cable (type A to type B)
- LED + 220Ω resistor
- Breadboard
- Jumper wires
Optional but very useful:
- Potentiometer
- Temperature sensor (LM35 or DHT11)
- Ultrasonic sensor HC-SR04
- Servo motor
- Buzzer
- LCD display 16x2
You can easily order a starter kit on Amazon or AliExpress.
📌 3. Installing the Arduino IDE
Step 1: Download Arduino IDE
👉 https://www.arduino.cc/en/software
Step 2: Install it
Windows / Mac / Linux supported
Step 3: Connect your Arduino board with USB
Your computer will install drivers automatically.
Step 4: Select the board
Tools → Board → Arduino Uno
Step 5: Select the COM port
Tools → Port → COMX (Arduino Uno)
📌 4. Understanding the Arduino IDE
Basic program structure:
void setup() {
  // runs once
}

void loop() {
  // runs forever
}
setup()initializes pins, communication…loop()is the program that runs repeatedly (like a continuous cycle)
📌 5. Your First Project: Blink an LED
Wiring

Code: Blink LED
void setup() {
  pinMode(13, OUTPUT);  // Use pin 13
}

void loop() {
  digitalWrite(13, HIGH); // LED ON
  delay(1000);            // wait 1 sec
  digitalWrite(13, LOW);  // LED OFF
  delay(1000);
}
Upload → The LED blinks every second.
Congratulations! You executed your first microcontroller program!
📌 6. Project 2: Control LED with a Button
Wiring

Code
int button = 2;
int led = 13;

void setup() {
  pinMode(button, INPUT);
  pinMode(led, OUTPUT);
}

void loop() {
  int state = digitalRead(button);

  if (state == HIGH) {
    digitalWrite(led, HIGH);
  } else {
    digitalWrite(led, LOW);
  }
}
Now the LED turns ON when you press the button.
📌 7. Project 3: Read Analog Values (Potentiometer)
This teaches you analog signals and analogRead().
Wiring

Code
int pot = A0;
int value;

void setup() {
  Serial.begin(9600);
}

void loop() {
  value = analogRead(pot);   // read 0–1023
  Serial.println(value);
  delay(200);
}
Open Serial Monitor → you will see the values change.
📌 8. Project 4: Control LED Brightness (PWM)
Using analogWrite() on a PWM pin (marked with ~).
Wiring: LED to pin 9
Code:
int led = 9;
int brightness = 0;

void setup() {
  pinMode(led, OUTPUT);
}

void loop() {
  for (brightness = 0; brightness <= 255; brightness++) {
    analogWrite(led, brightness);
    delay(10);
  }

  for (brightness = 255; brightness >= 0; brightness--) {
    analogWrite(led, brightness);
    delay(10);
  }
}
LED will fade in and out smoothly.
📌 9. Project 5: Ultrasonic Distance Sensor (HC-SR04)
Purpose: measure distance (robotics, security, parking system)
Wiring

Code
#define trig 9
#define echo 10

void setup() {
  Serial.begin(9600);
  pinMode(trig, OUTPUT);
  pinMode(echo, INPUT);
}

void loop() {
  digitalWrite(trig, LOW);
  delayMicroseconds(2);
  digitalWrite(trig, HIGH);
  delayMicroseconds(10);
  digitalWrite(trig, LOW);

  long duration = pulseIn(echo, HIGH);
  long distance = duration * 0.034 / 2;

  Serial.print("Distance: ");
  Serial.print(distance);
  Serial.println(" cm");

  delay(300);
}
Now you have a basic radar distance measurement system.
📌 10. Project 6: Servo Motor Control
Used in:
- Robotics
- Arm movement
- Car steering
Wiring

Code
#include <Servo.h>

Servo motor;

void setup() {
  motor.attach(9);
}

void loop() {
  motor.write(0);
  delay(1000);
  motor.write(90);
  delay(1000);
  motor.write(180);
  delay(1000);
}
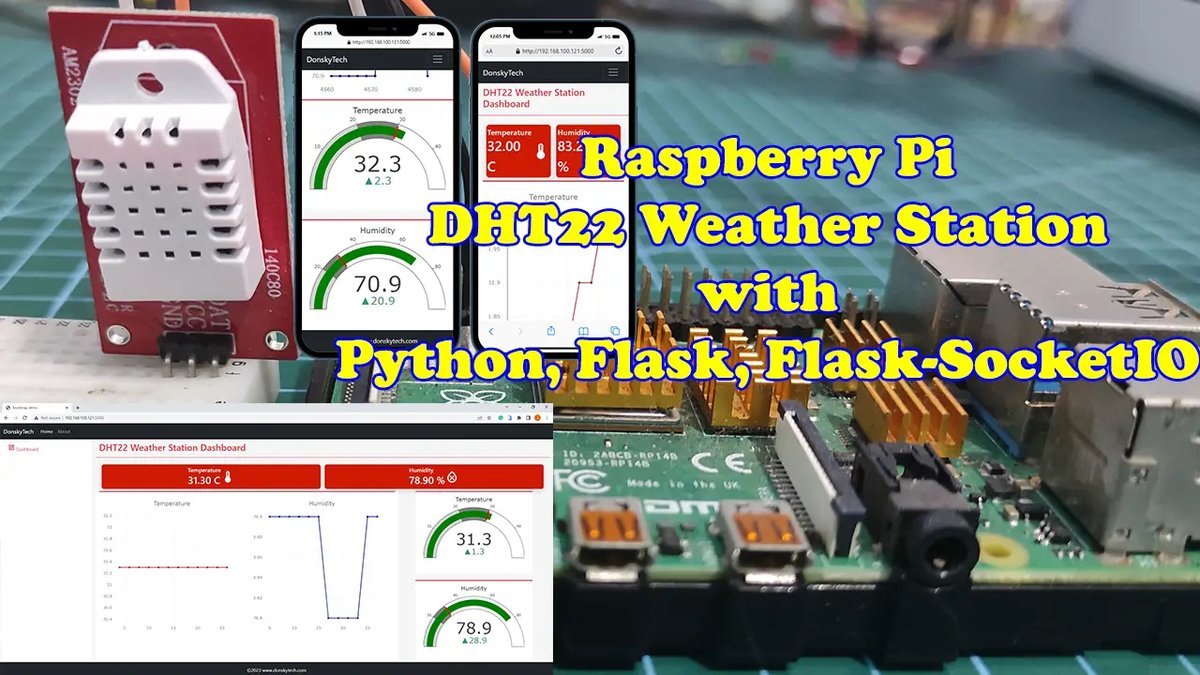
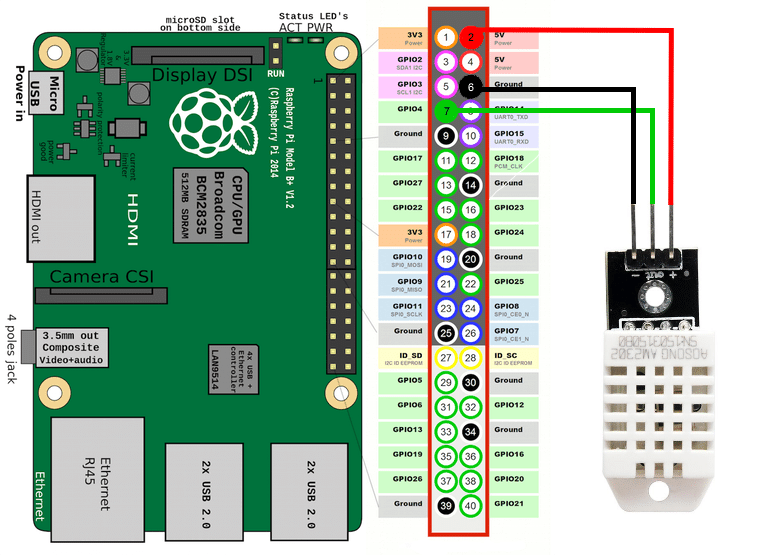
📌 11. Project 7: Temperature & Humidity Sensor (DHT11)
Wiring

Code
#include "DHT.h"

#define DHTPIN 2
#define DHTTYPE DHT11

DHT dht(DHTPIN, DHTTYPE);

void setup() {
  Serial.begin(9600);
  dht.begin();
}

void loop() {
  float h = dht.readHumidity();
  float t = dht.readTemperature();

  Serial.print("Temp: "); Serial.print(t); Serial.println("°C");
  Serial.print("Hum: ");  Serial.print(h); Serial.println("%");
  delay(1000);
}
You now have a mini-weather station.
📌 12. Summary of Essential Arduino Skills
By completing these lessons, you’ve learned:
| Skill | Explanation |
|---|---|
| Digital I/O | Using pinMode, digitalRead, digitalWrite |
| Analog Input | Reading sensors with analogRead |
| PWM Output | Controlling brightness and speed |
| Serial Monitor | Displaying sensor data |
| Using Libraries | (Servo, DHT, etc.) |
| Basic Circuits | Breadboarding + resistors |
You now have enough knowledge to build real-world Arduino projects.
📌 13. What You Can Build Next (Advanced Projects)

Next-level ideas:
- Smart home system (lights + gas sensor + relay)
- Robot car with obstacle avoidance
- Fingerprint door lock
- IoT system with ESP8266 (WiFi)
- Automated irrigation system
- Motion detection alarm with PIR sensor
- RFID access security system










💬 Comments
No comments yet. Be the first to comment!
Login to comment.